Welcome, Autumn: How to Make a Simple Rosehip Wreath for Your Door
“September, September, summer’s getting old” – as the charming children’s song goes. But there’s no need to feel sad. Summer, in all its mature wisdom, has left us a beautiful farewell gift: bright red rosehips. Nature thoughtfully provides for the birds, giving them something to eat as food becomes scarce in the colder months. And we humans can enjoy them too – for a soothing tea or a cheerful seasonal decoration that reminds us that every season brings its own gifts. Join me in making a rosehip wreath for your door and celebrate the arrival of autumn with pure joy.
Dancing to the Rosehip Branches
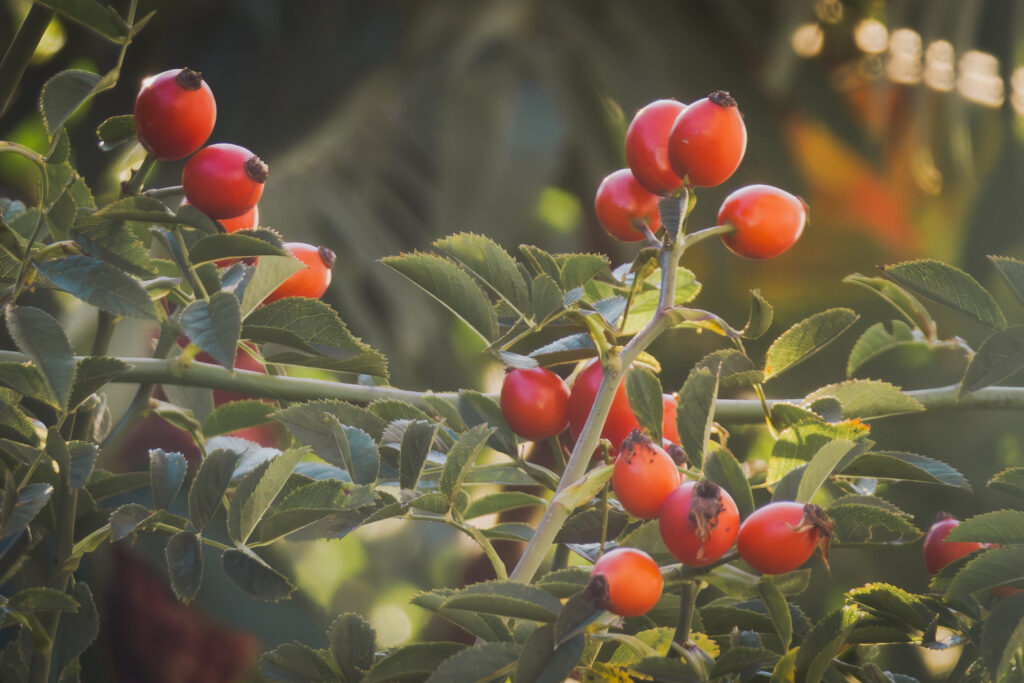
September is the month of rosehips and Indian summer. To gather the branches you’ll need for a natural wreath, I recommend taking advantage of these last warm days of the year. The September sun still has strength and paints the landscape with magic. Memories of the warm summer glow are reflected in the fiery red shade of rosehip fruits. Nature also dresses the scenery in radiant gold. Combine the useful with the pleasant: while collecting about 15 longer, thinner branches with beautiful rosehips, enjoy a relaxing walk.
Bring with you when harvesting rosehips:
- Garden shears
- Gardening gloves
- A large, wide bag
Thorns on the Path to Your Lucky Wreath

Supplies for a rosehip wreath:
- Rosehip branches with nice berries
- A wicker wreath base
- Garden shears
- Gardening gloves
- Natural twine
- Regular scissors (for cutting twine)
- Red satin ribbon
- Hairspray or floral spray (if the wreath will stay indoors)
1. Clean branches and prepare your workspace
Once home, clean the branches – shake off any tiny spider residents (after all, it’s late summer). Trim leaves or berries that don’t look appealing. Lay out all your materials on a flat working surface.
For attaching the branches, I used natural twine instead of floral wire – it blends well with the wicker base and feels safer. Plus, ornaments can easily be removed and the base reused.
2. Wreath for luck – clockwise direction
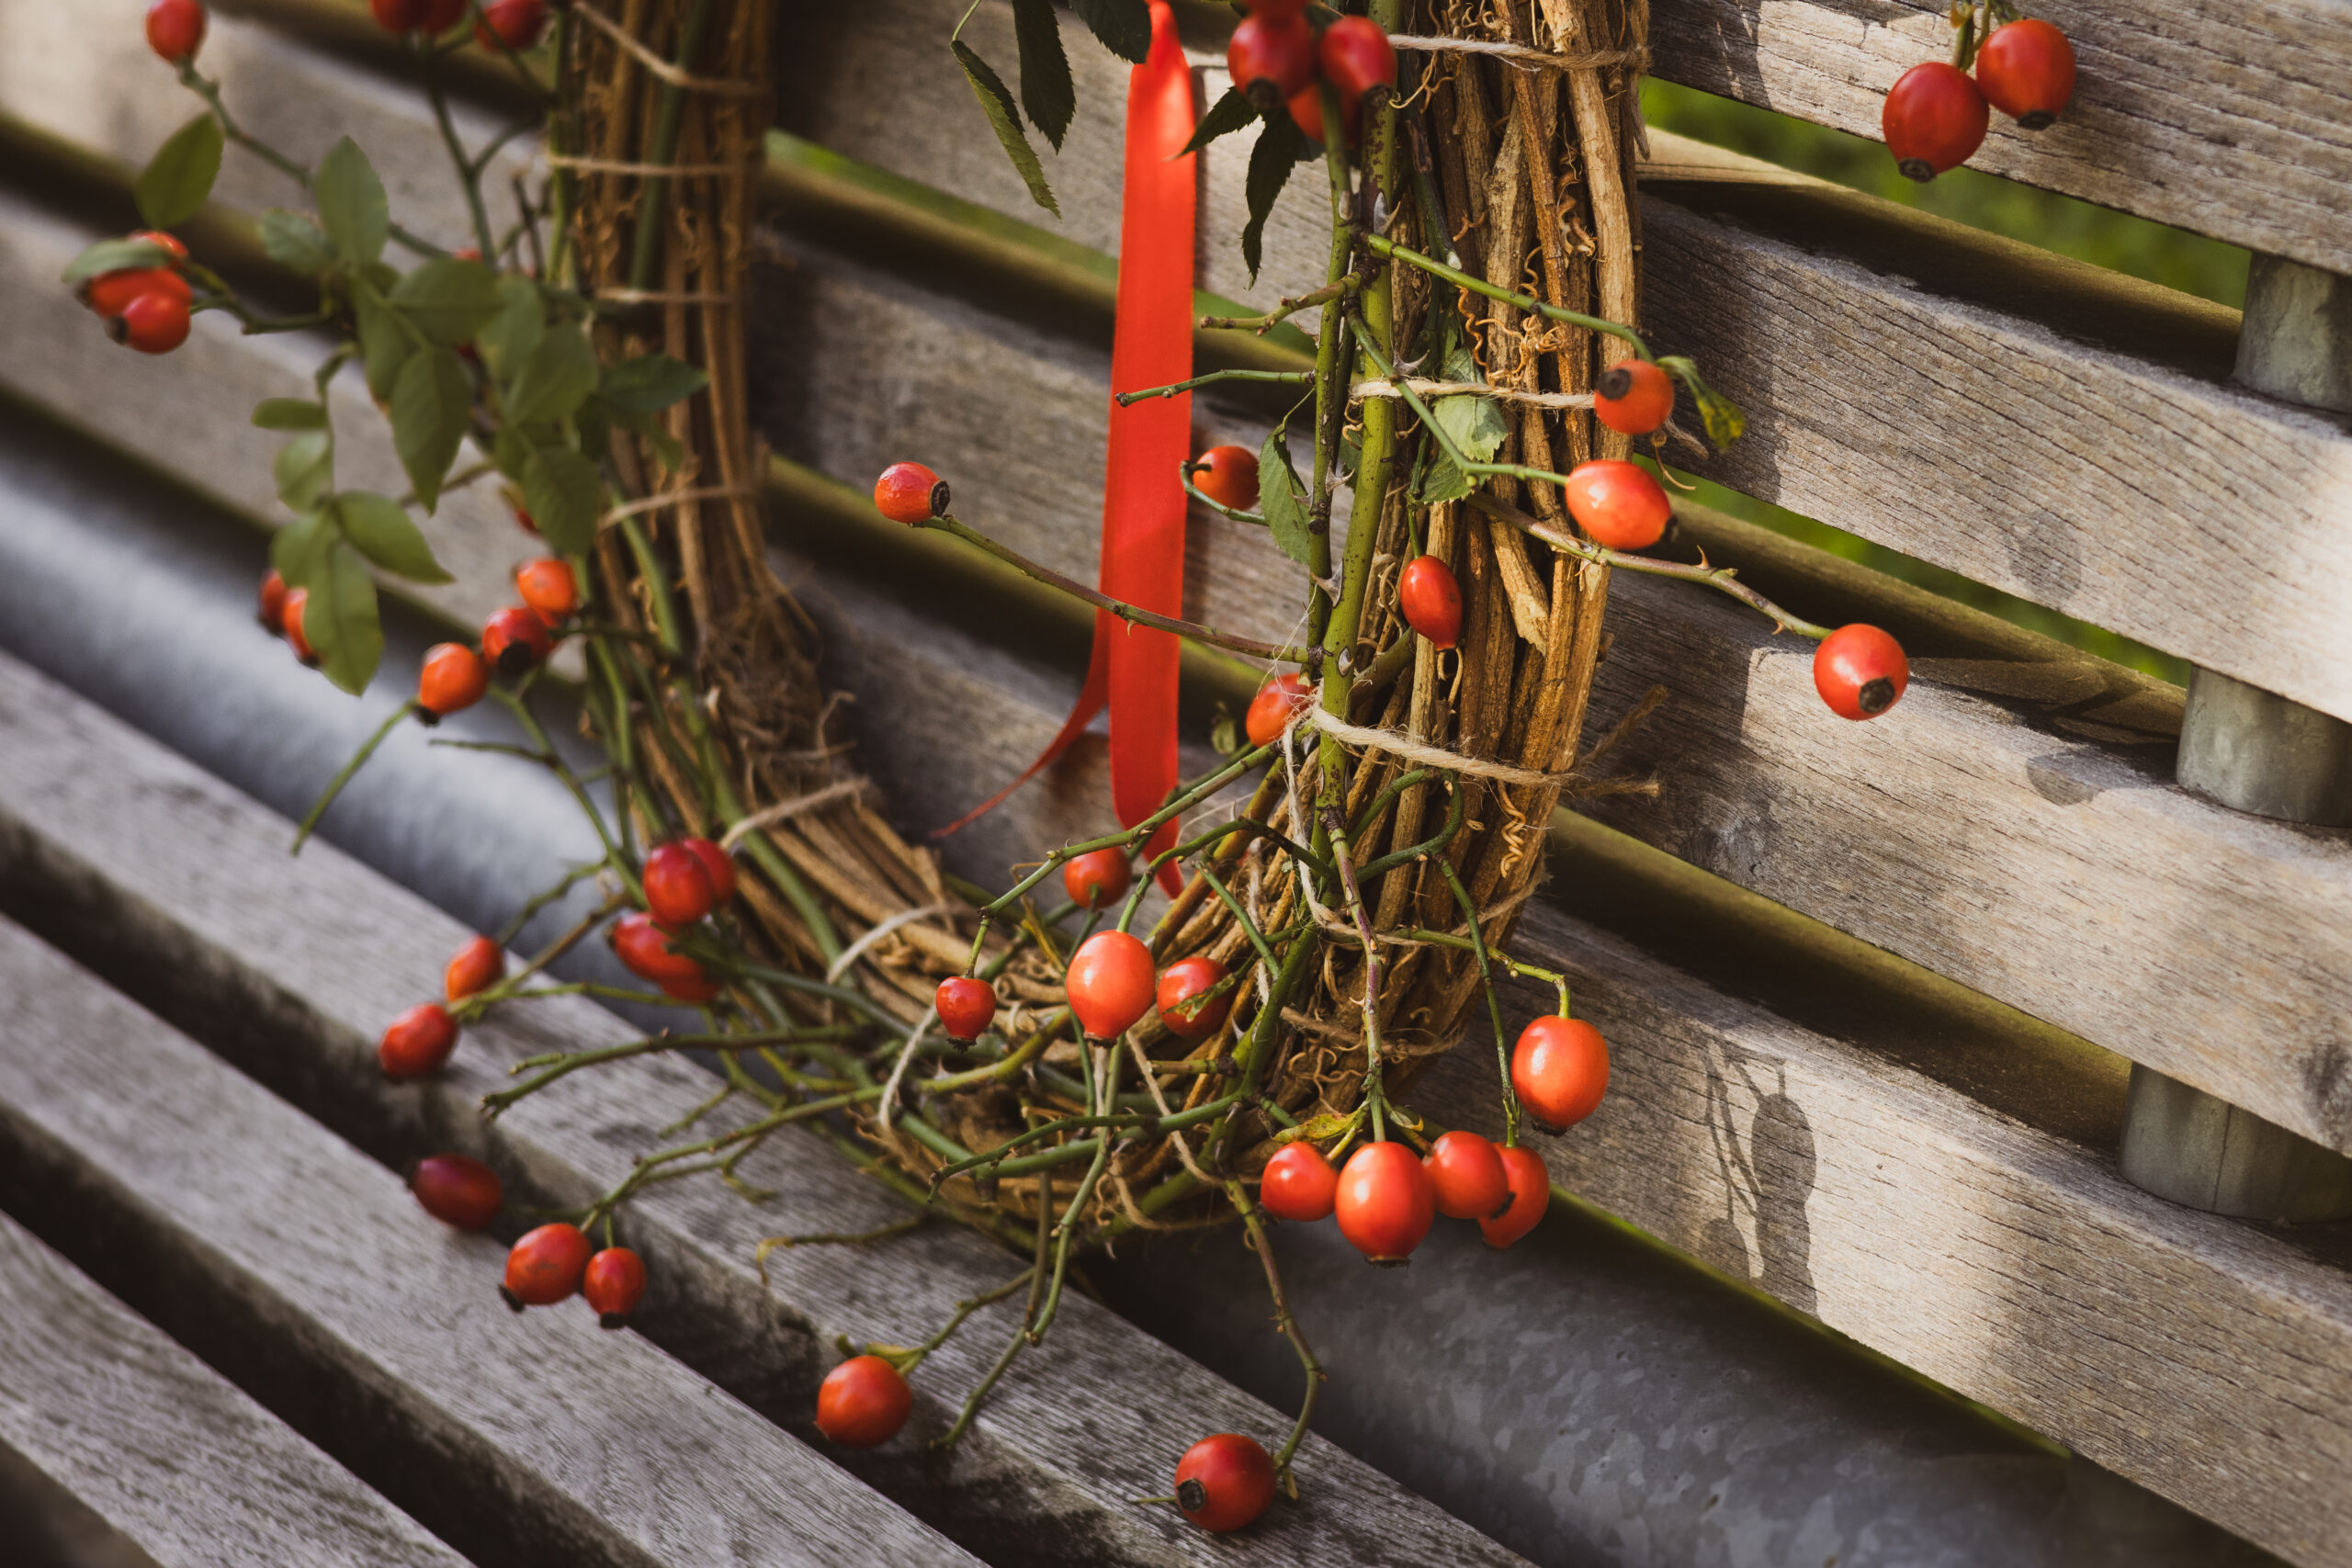
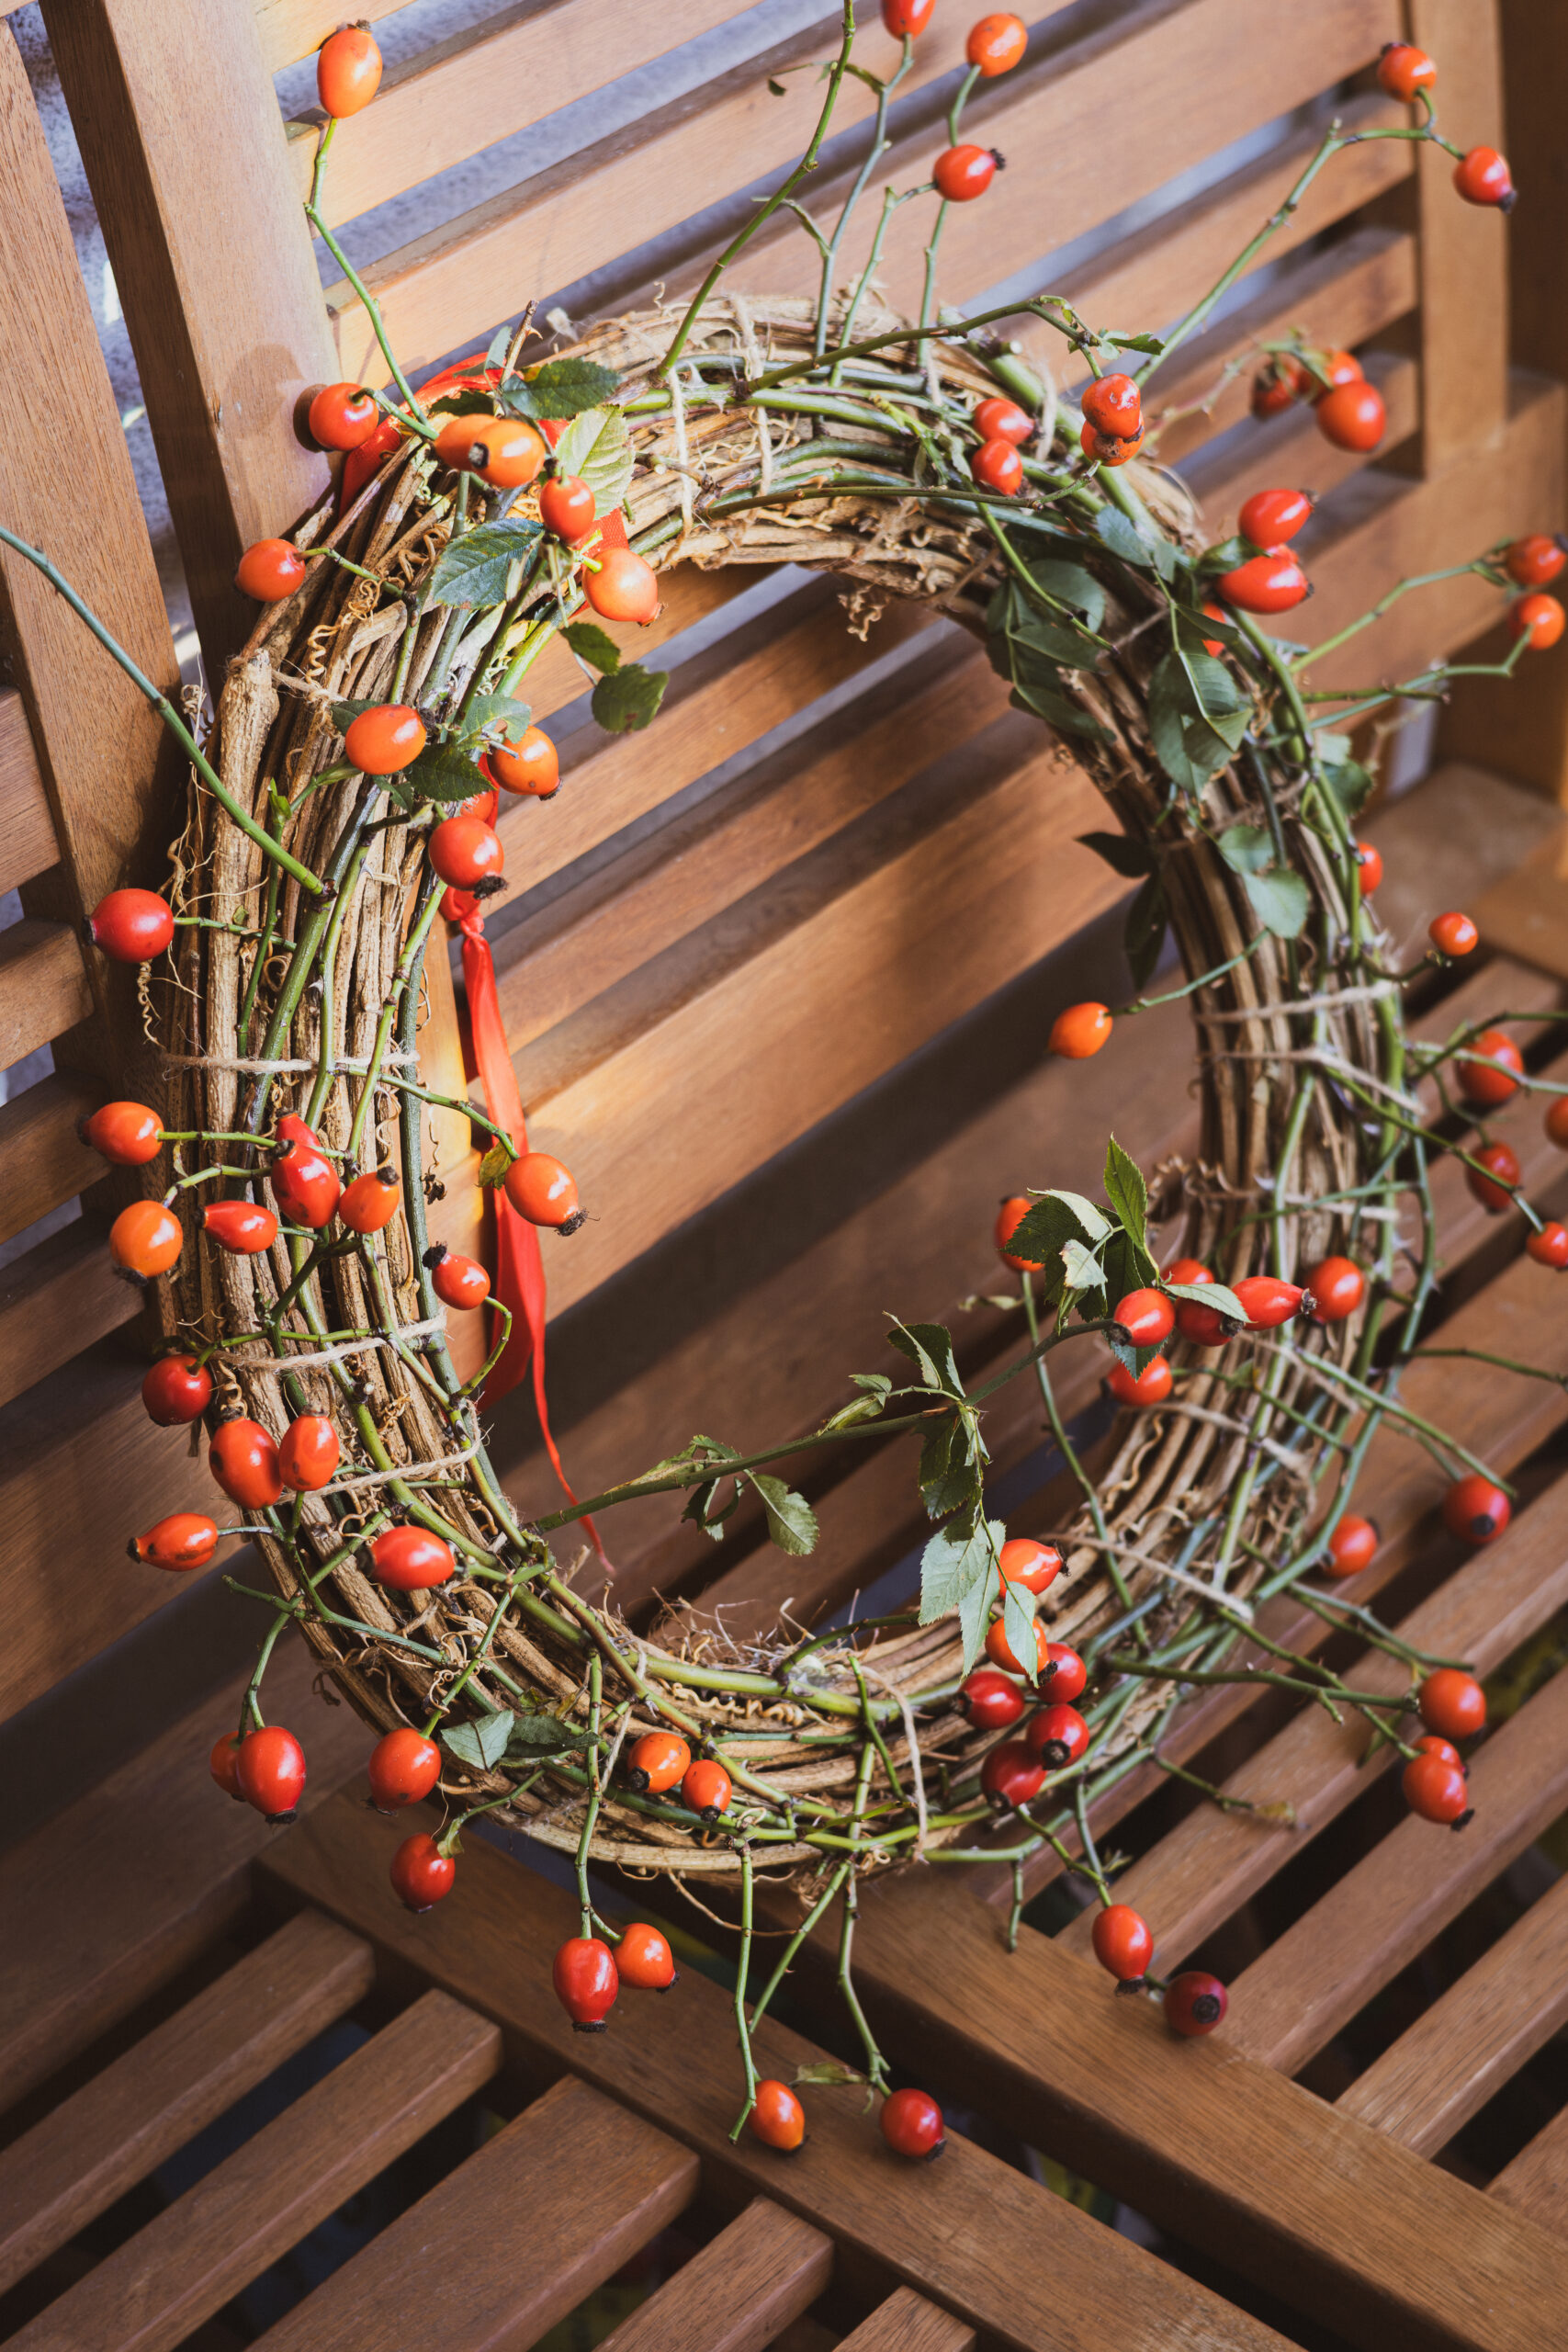
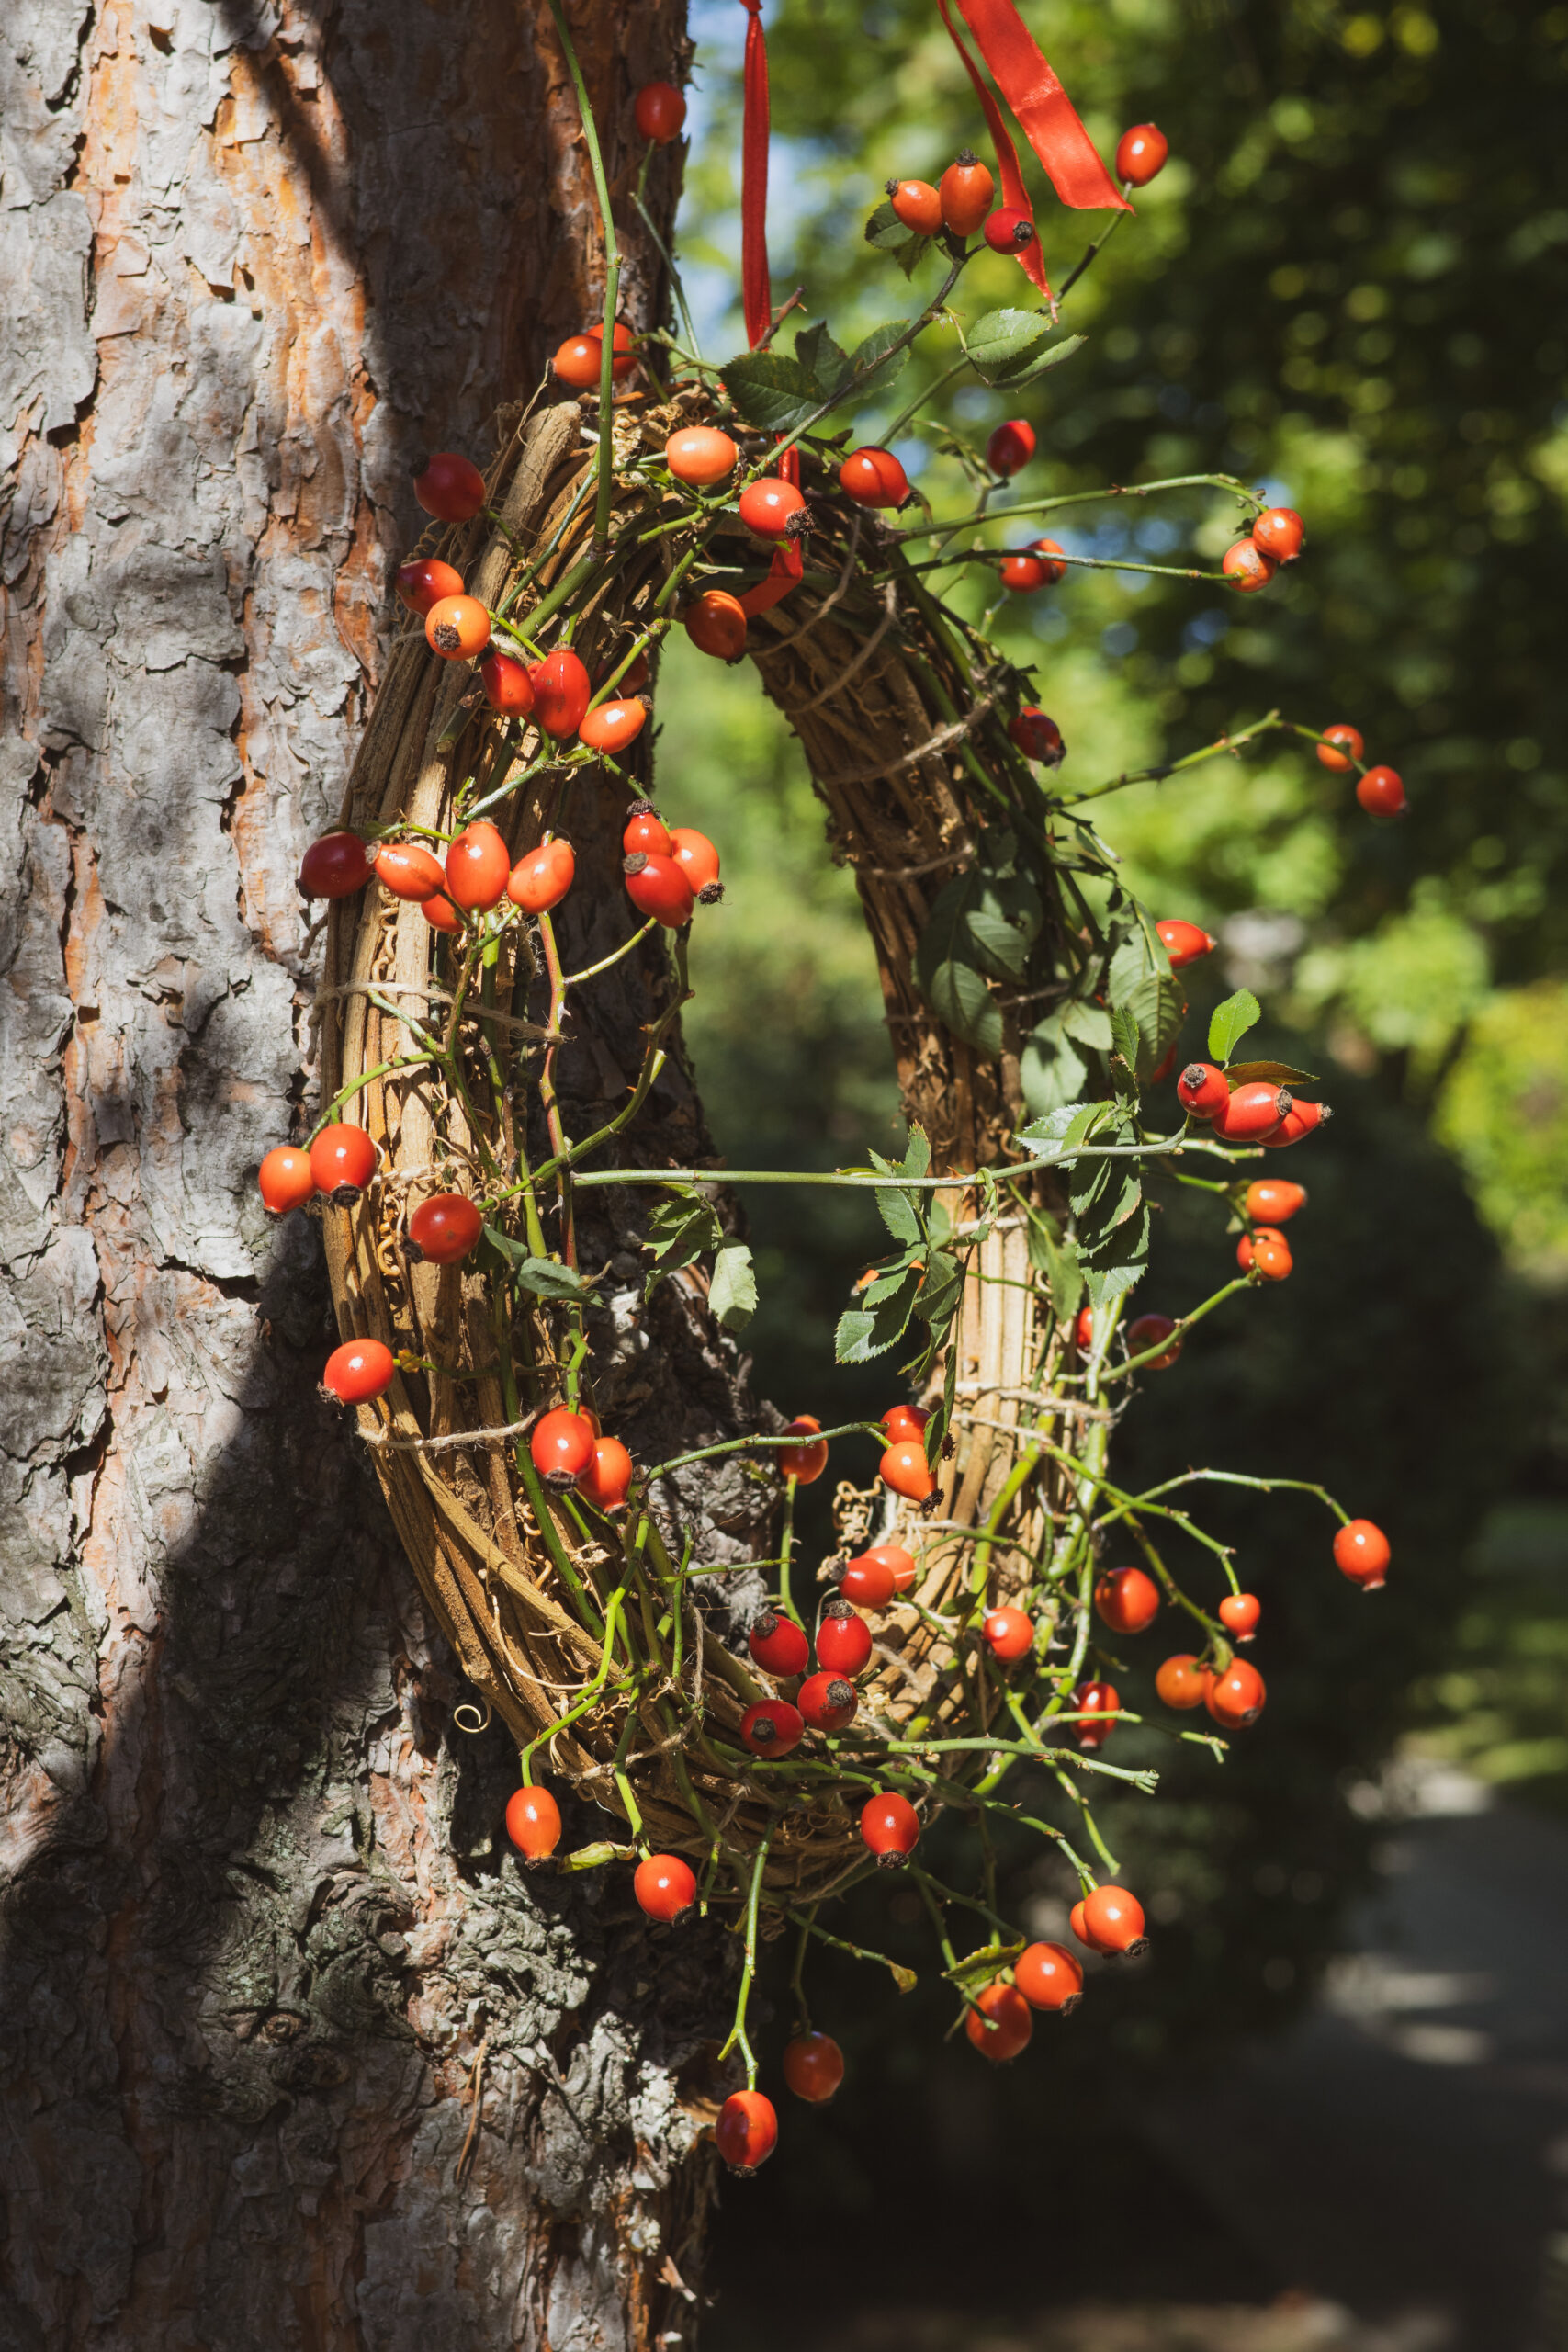
Wearing gloves (watch out for thorns!), start placing the branches on the wreath base. Tie each one from the back with twine. Decorative wreaths have symbolic meanings: the circular shape represents eternity, as seen in Advent wreaths. Arranging branches clockwise on the finished wreath is said to bring good luck.
Place the first branch at the top center of the wreath so the thinner end points to the right. Tie it, then continue to the left. While winding the wreath, branches are added counterclockwise – but when the finished wreath is smoothed along the branch direction, the greenery’s ends point clockwise.
3. Final touches
Decorate the nearly finished wreath with remaining rosehips, if you have them. Tie the ribbon at the top for hanging. If the wreath will stay indoors, lightly spray it with hairspray or floral spray – the rosehips will shine beautifully.
Rejoicing in Autumn’s Gifts
Congratulations not only on your new autumn decoration but also for having the courage to make it yourself. It would have been so easy to buy a ready-made wreath at the florist! Enjoy nature, enjoy the beauty you’ve crafted with your own hands, even if the process was sometimes prickly or the result uncertain.
My inspiration for making a simple rosehip wreath came from Tereza at the blog Heart of Rowanberries. Her tips, especially on branch direction, were invaluable. Using a large round container to shape the branches is a clever trick – almost no base is needed. I couldn’t find one, so I improvised with a wicker base from spring.
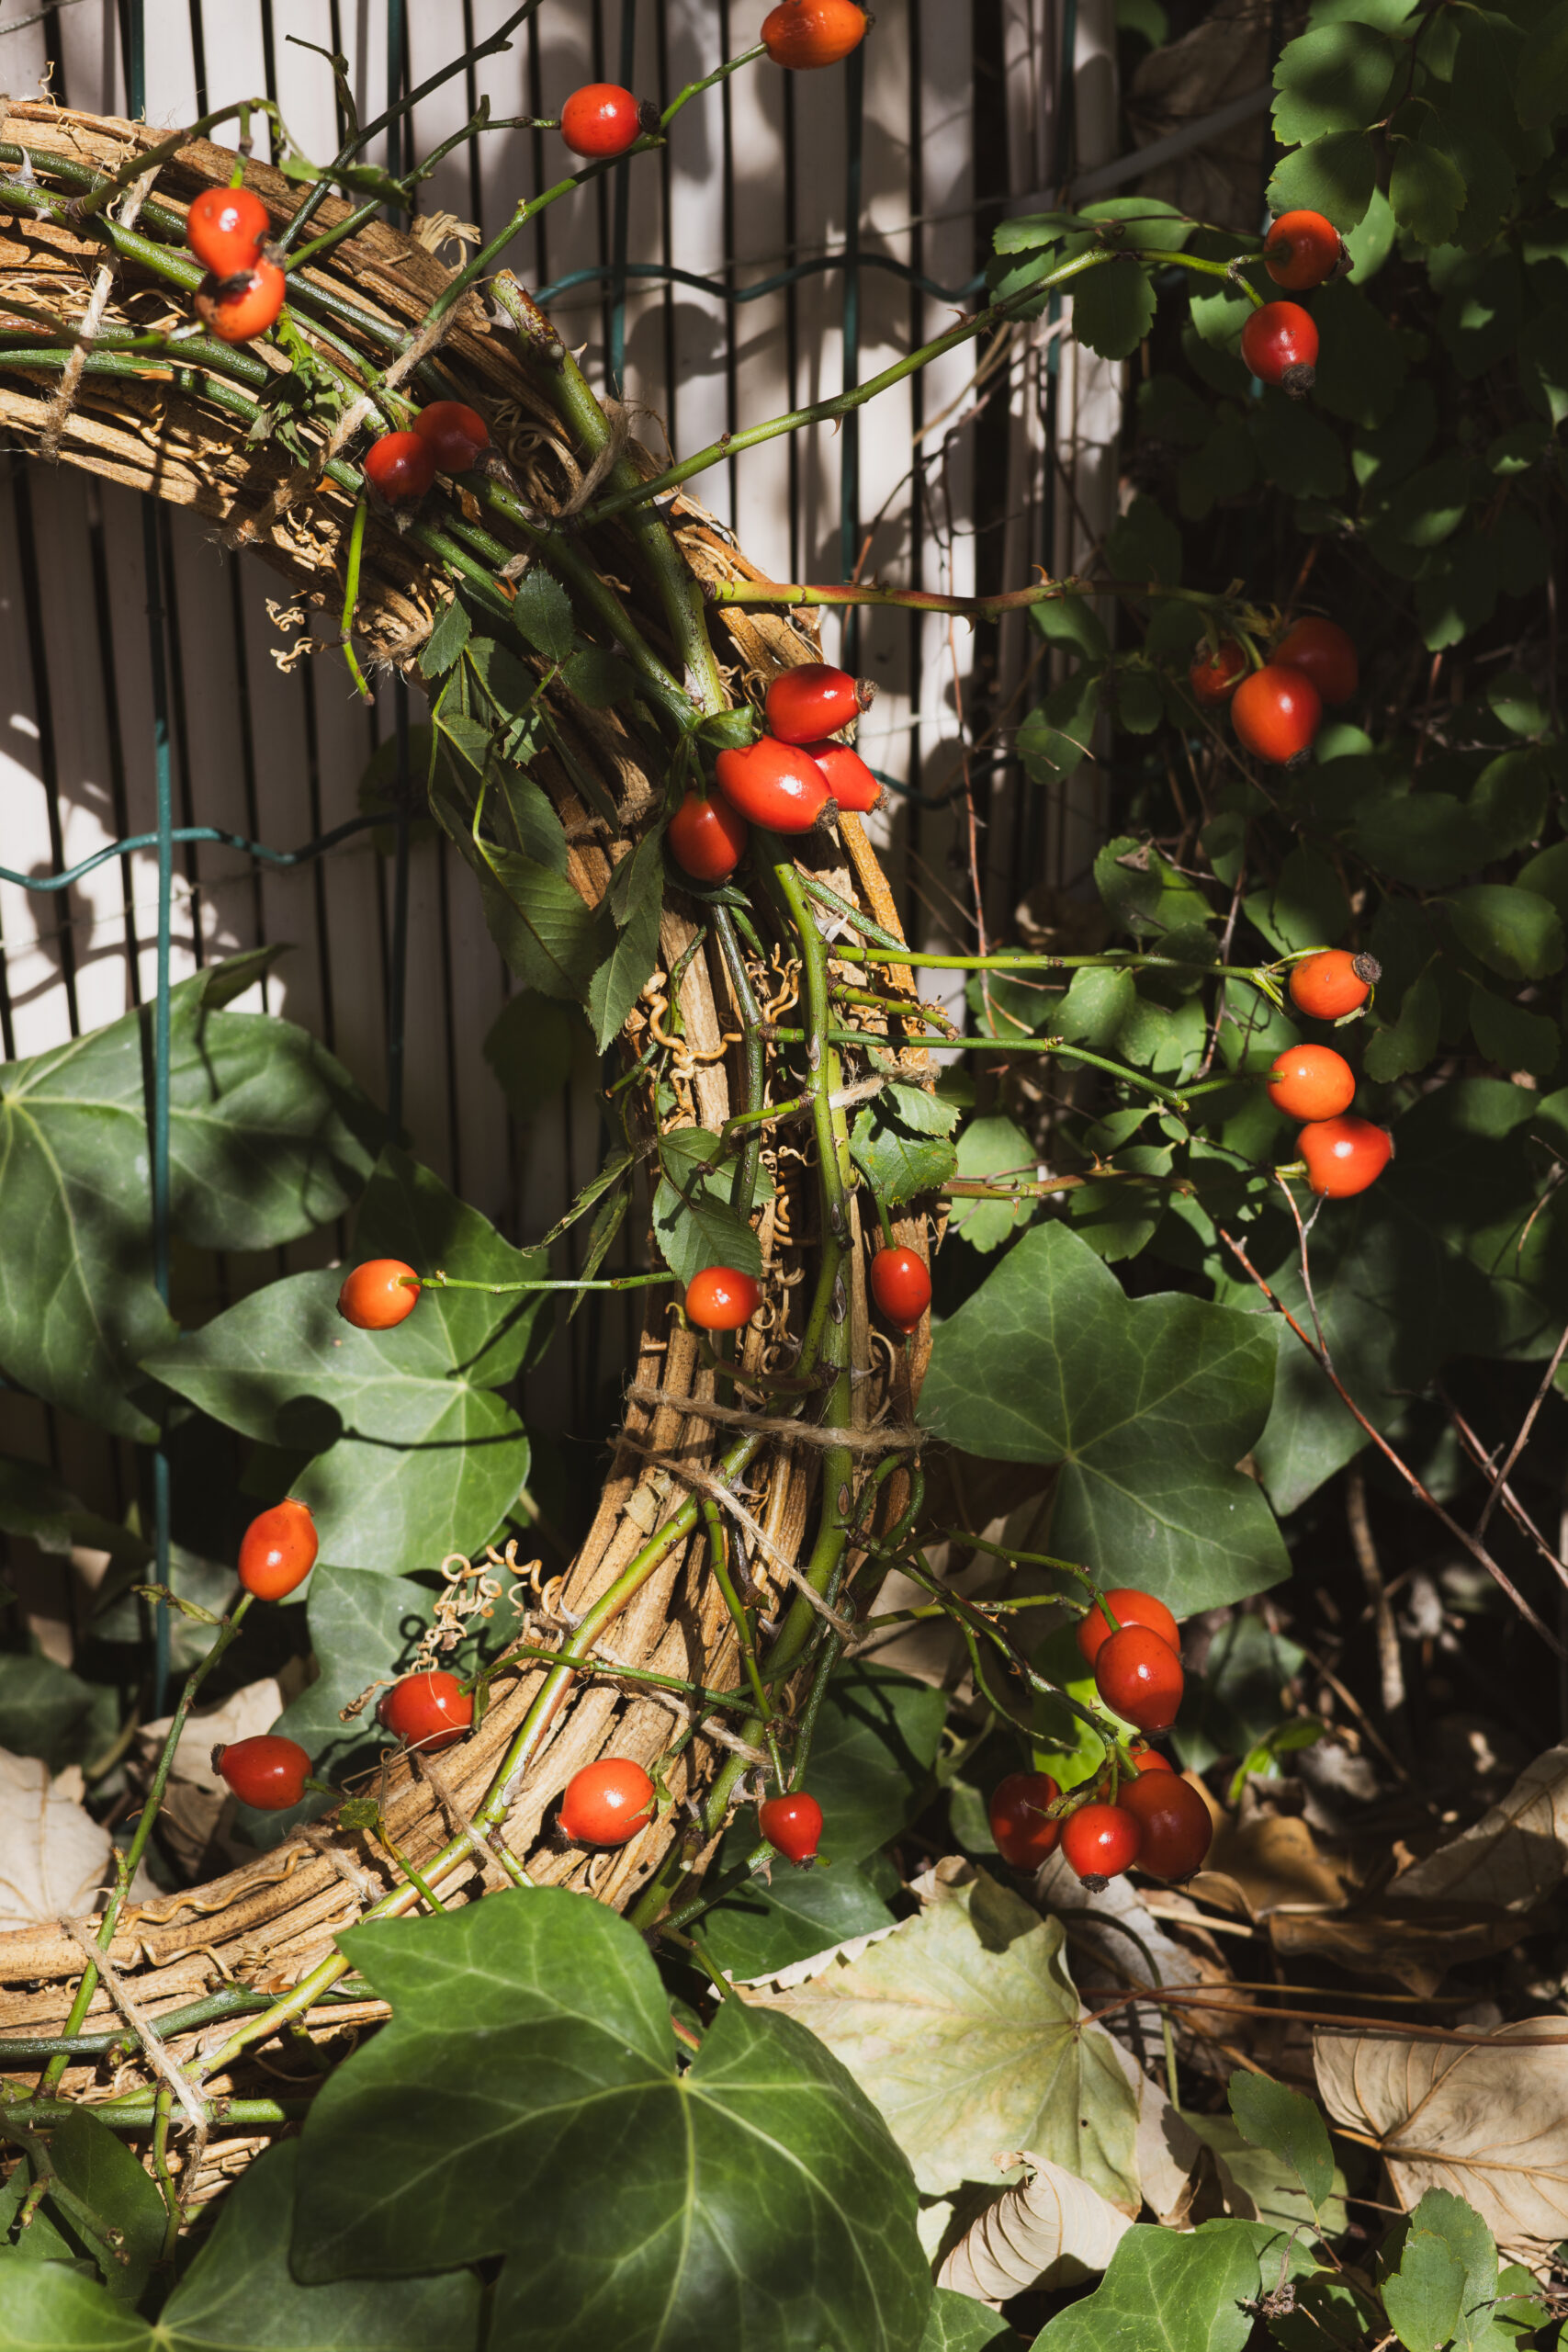

Just like the silver hair of wise Mother Nature, late summer spider webs glisten among the rosehip branches. Others drift freely in the September breeze, softly whispering reminders of all that we have to be grateful for.
May your natural wreath bring luck every day of the coming autumn, and remind you that joy can be found even in small things.
Amarylka
Do you like rose hips? Do you make your own seasonal decorations or prefer to buy them? Tell me in the comments below! 👇❤️🤗